
But, when I upload the picture for this post, it works. What the ?!
So, I'll replace the render with this post today. This might be useful for those who want to know how to render(removing image background exactly).
Okay, Here we go!
First, I open my beloved P*o*oShop. If you don't have any, Instal it! there are bunch of cracked version spread all over the internet thou >.>
Second! I open the image I want to render, and duplicate the background layer. I do this by dragging the image thumbnail in the layer panel(I forgot where it will be located when the P*o*oShop run for the first time) to the white paper icon below the image layer(s) that still located in the layer panel.
This is my habit thou. For backup. When the render I did a big mess halfway, I can always dispose that layer and copy the background layer again.
Third!! click the "Pen Tool". It's not shaped like modern pen so look for some ancient pen icon in the toolbar that sitting in the left. If you can't find it, just press "P" button in your keyboard.
Fourth!!! trace the edge by click, click, and bend. click the edge part you want to start, then click a bit far to make a straight line. This is just a delusional line that doesn't damage the image. So, no worries that line ruining you image :p
If you need to bend the line, click the line, and you will notice a + sign will appearing beside your pen cursor. Do a click, and you will get a small-white-square
Okay, here's what I done so far
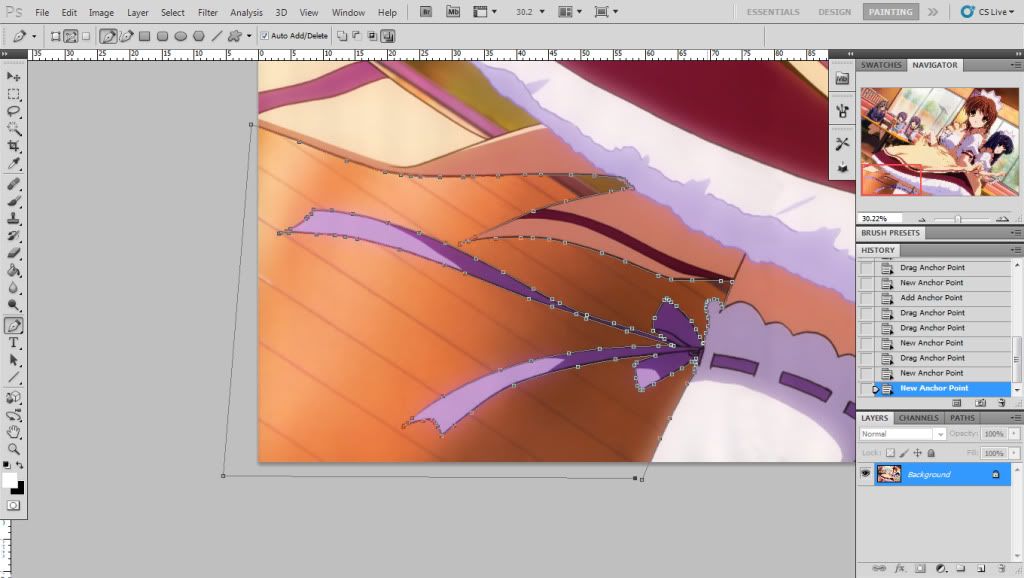 |
| Click the image if you can't see it |
Did you get it so far ?
Next, do a right click when using pen tool and choose "make selection". the image should be turned like this
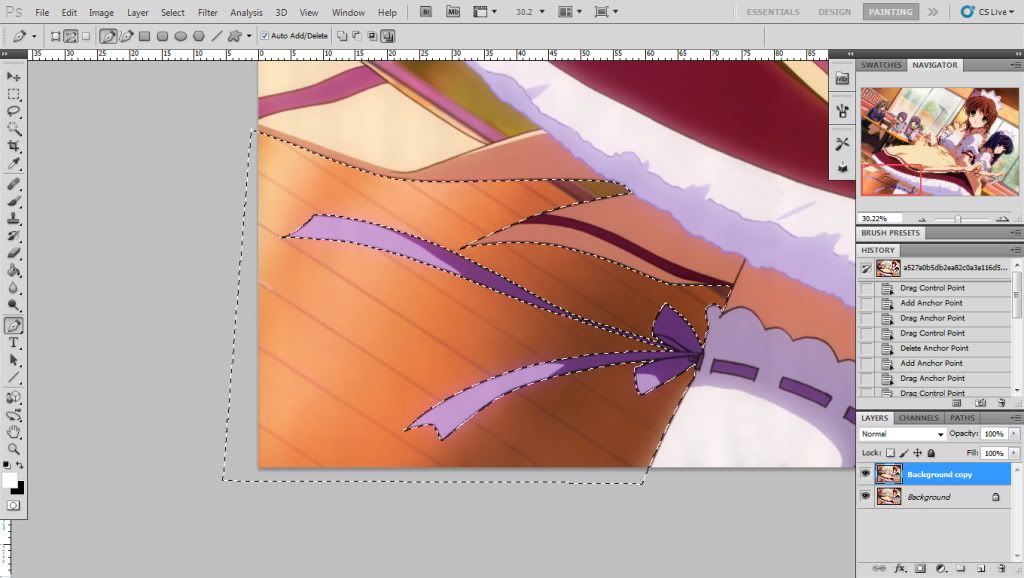 |
| Just click the image if you can't see it |
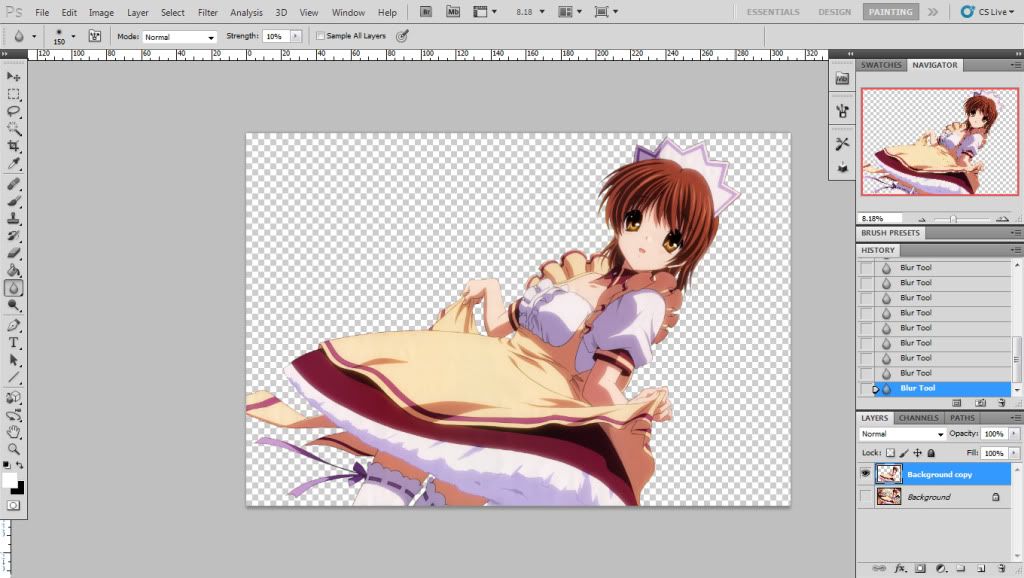
That means the area is selected. So, the thing you need to do now is pressing the "delete" button on your keyboard, and the result will be just like...
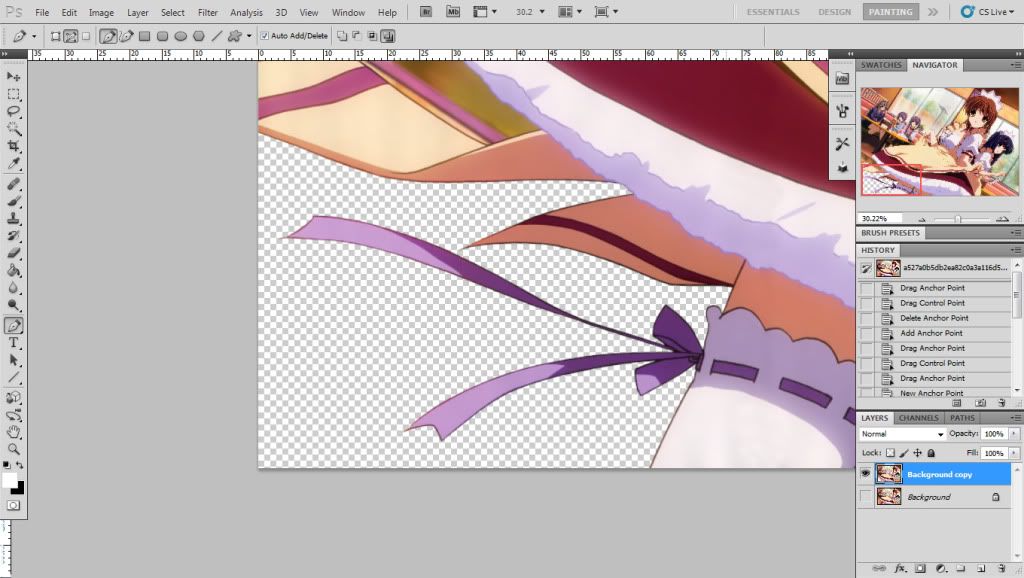 |
| This! |
Okay, you have been succeed in rendering! :D
I liked to do it a little by a little, I mean, not selecting the whole image in one go. Why ? it has a very deep reason! find the answer below :3
I got bored easily lol
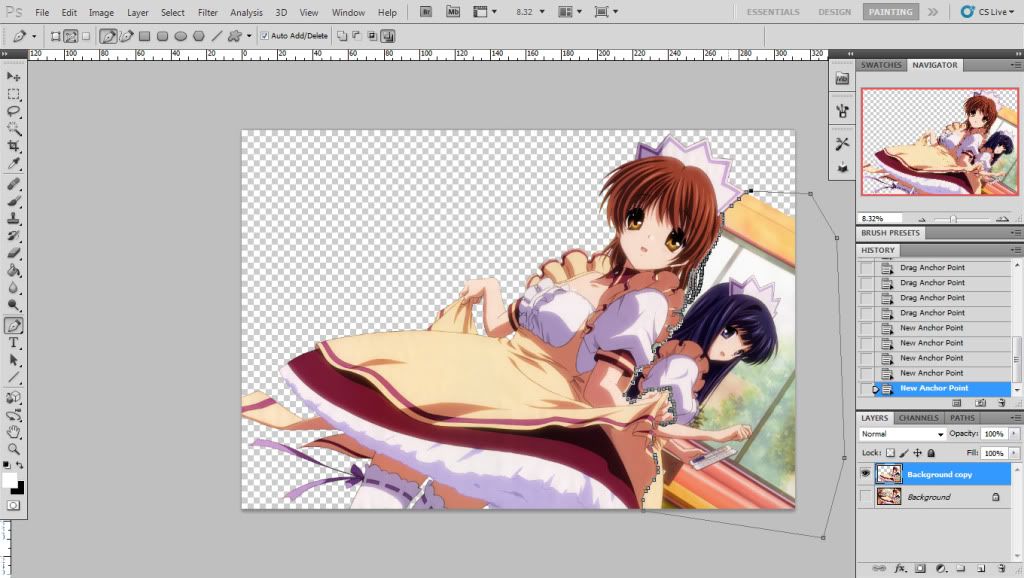
and... will looked like this when finished :3
Need much patience in doing this lol
and take note that It's much more easier to render a huge image than a small one.
The image I render above has 8835x6041 resolution and the result give 12.5mb in file size, and this is the image I tried to upload to P*o*oBucket and always stuck at certain percentage >.>
I will post it later when the upload success.
Okay, that's all the way I work. Easy isn't it ? :D
No comments:
Post a Comment